Account & billing
Your Eloqra account owns your projects, your plan and your API key. On the web, everything on this page lives under Settings — open the account menu at the bottom of the sidebar and choose Settings, then pick Profile, Billing or API.
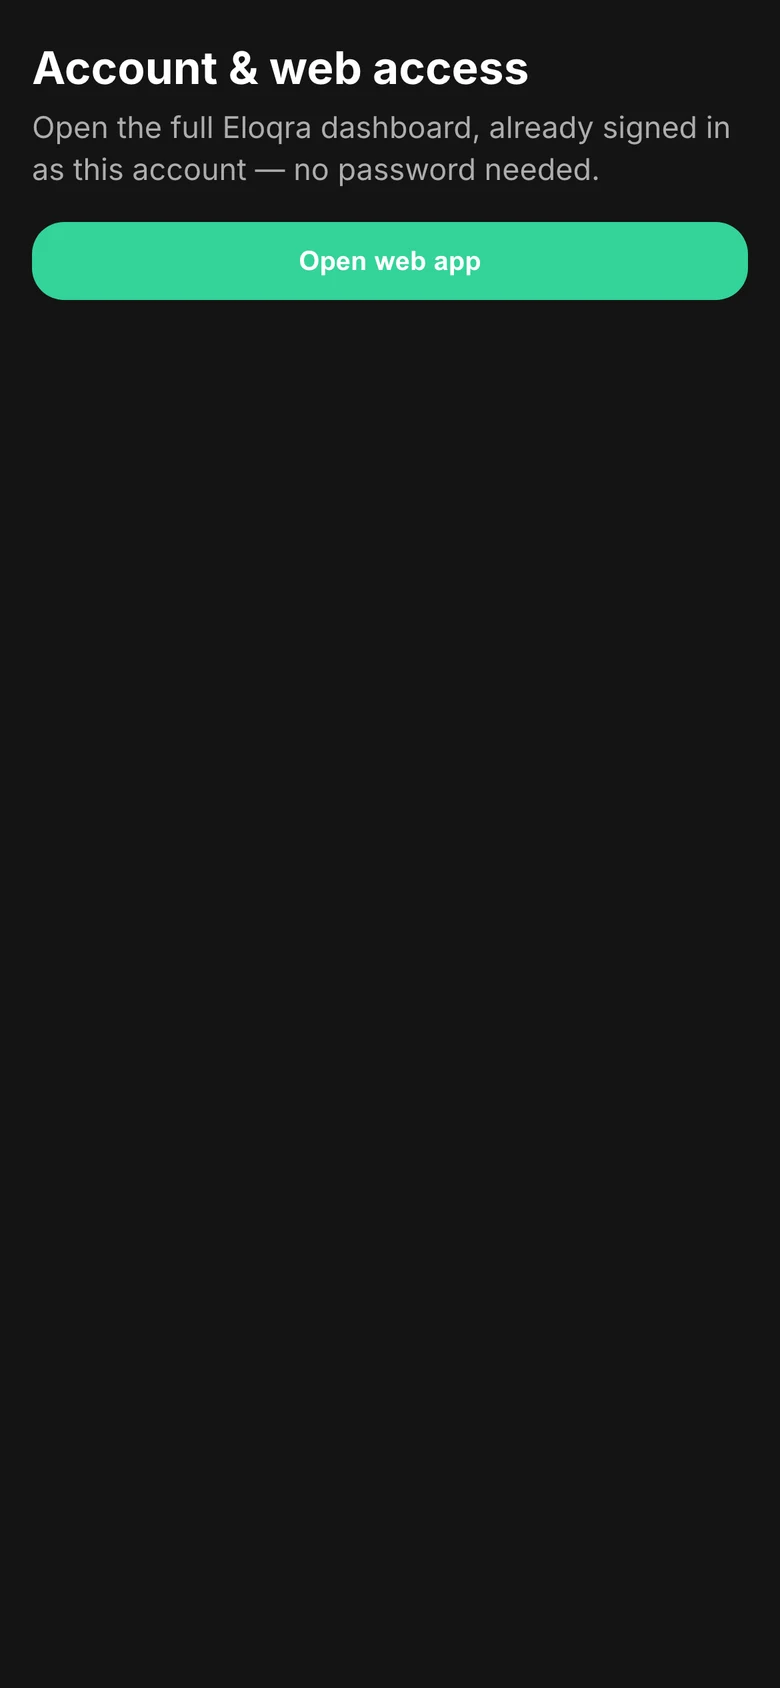
Signing in#
There are three ways into an Eloqra account:
- Email and password. Sign up at chat.eloqra.app with your email and a password of at least 6 characters, then confirm your email from the message we send before you log in. If you forget your password, use the Forgot your password? link on the login page.
- Google. Click Continue with Google on the login or sign-up page.
- Telegram. Press Start in @eloqra_bot and an account is created for you — no email or password needed. The Mini App signs you in from your Telegram session. See Start from Telegram.
Telegram accounts on the web#
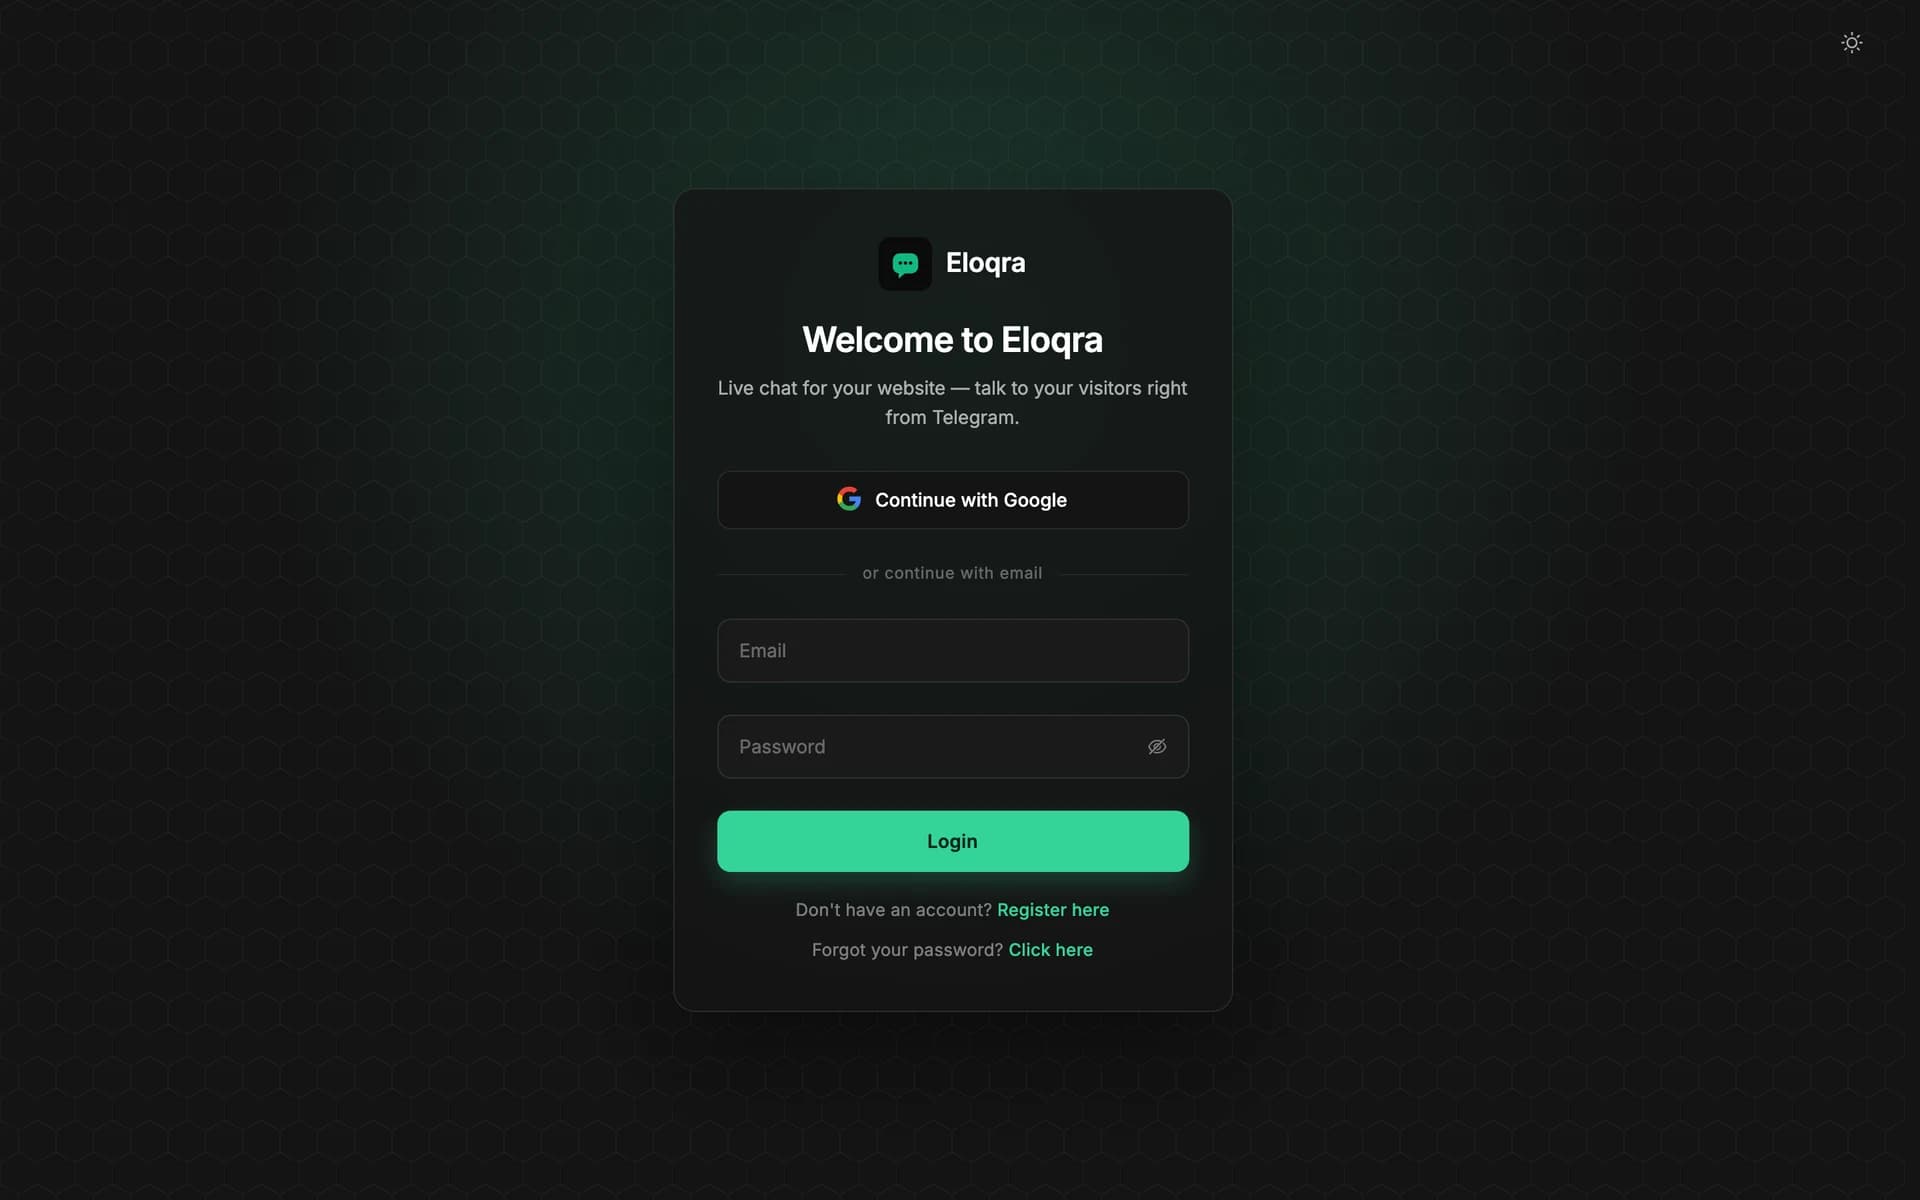
If you started in Telegram, open Manage → Account & web access in the Mini App:
- Open web app opens the web dashboard already signed in as your account — no password needed.
- Add email login (optional) lets you set an email and password, so you can also sign in on any device without Telegram. Tap Save email & password. After that, this section shows your email and a Reset password button that emails you a reset link.
The email section only appears for accounts that started in Telegram. If the email you enter already belongs to an Eloqra account, it can't be added here. Instead, sign in to that account on the web, go to Connect → Telegram, and send the code to the bot — your Telegram-only projects and conversations move into the web account.
Profile#
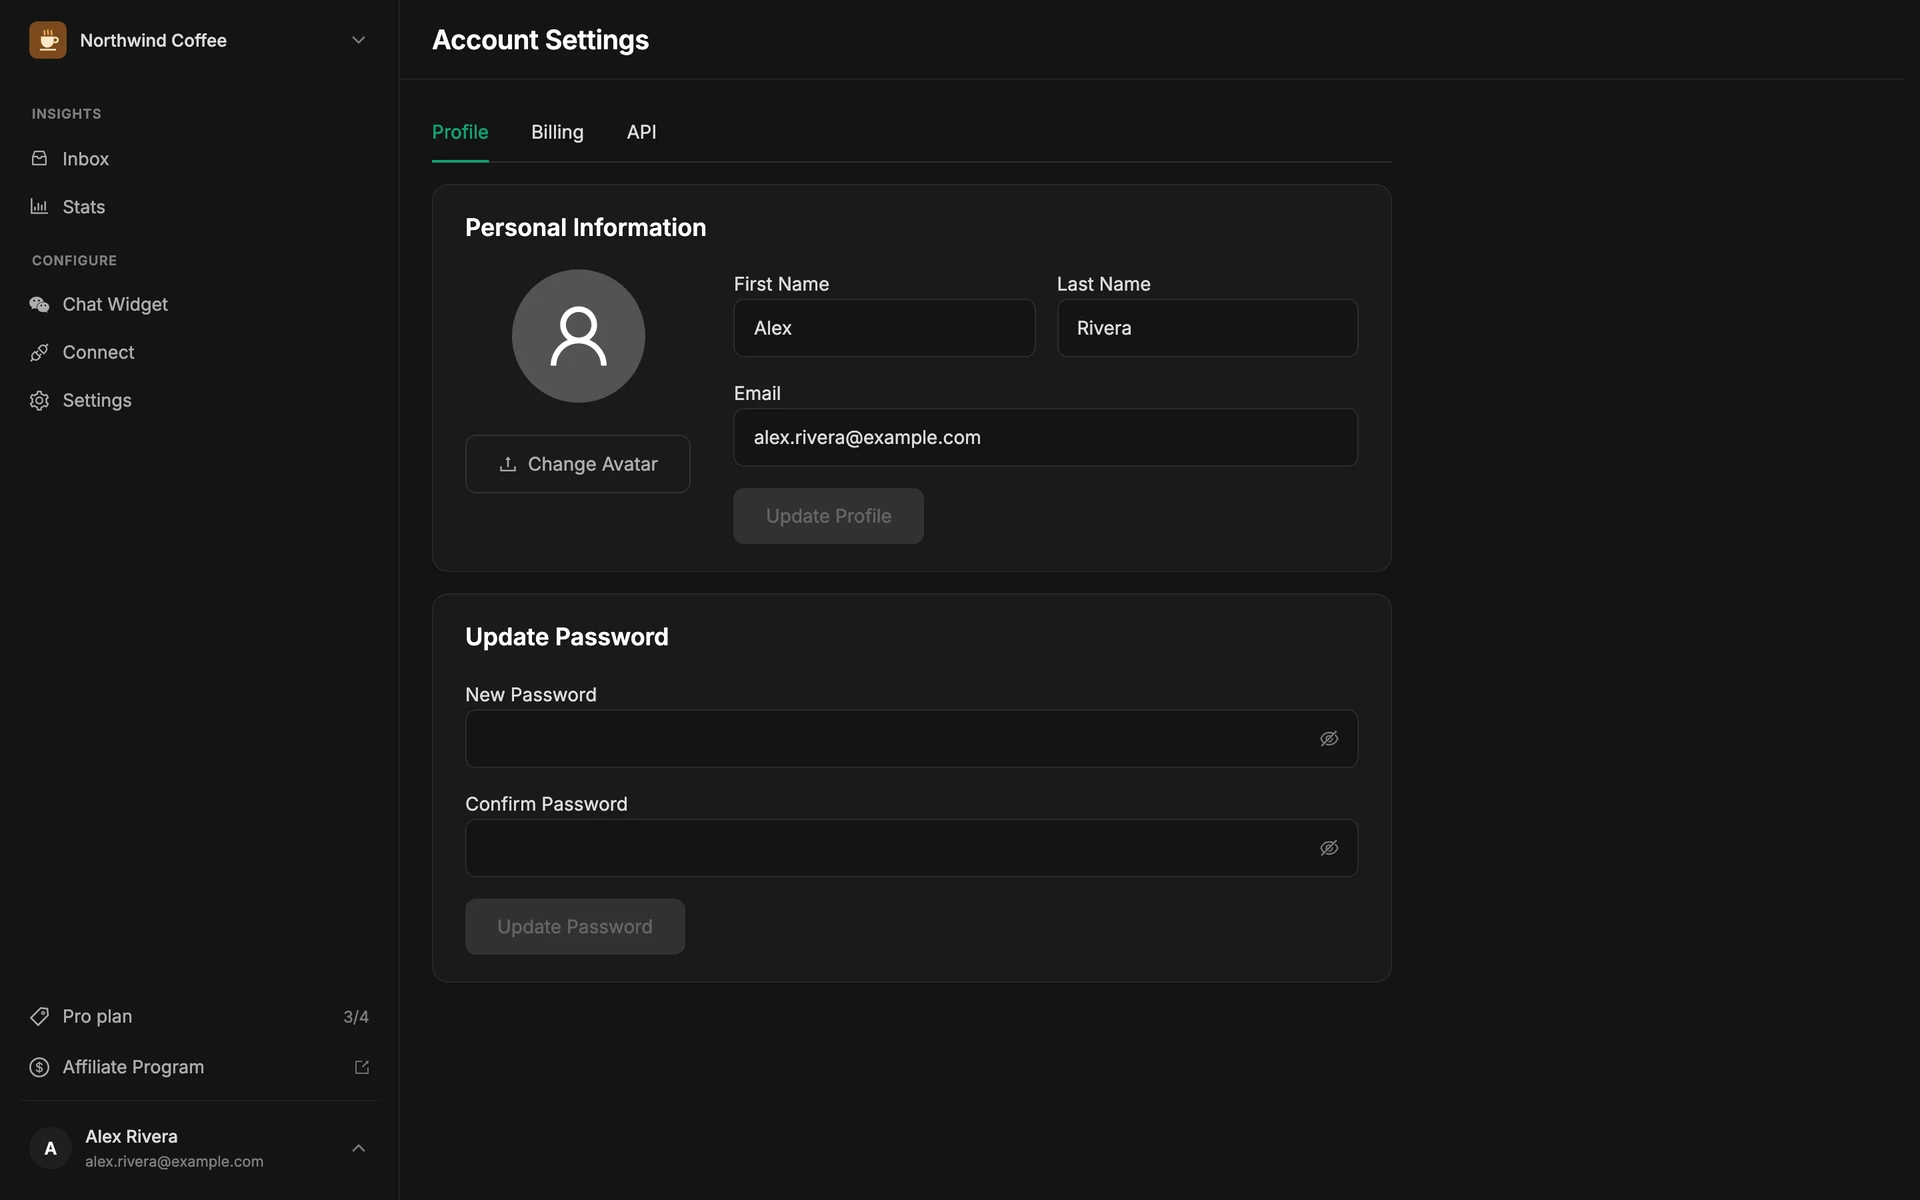
Settings → Profile has two cards:
- Personal Information — click Change Avatar to upload a profile image, and edit your First Name, Last Name and Email, then click Update Profile.
- Update Password — enter a New Password and the same value in Confirm Password, then click Update Password. The button stays disabled until both fields match.
Plans & billing#
Eloqra has two plans. Free Forever includes 1 project. Pro adds project slots at a flat $4.99/month or $49.99/year per slot — the annual price saves about 17%. There's no per-seat or per-message charge. See Pricing for the full comparison.
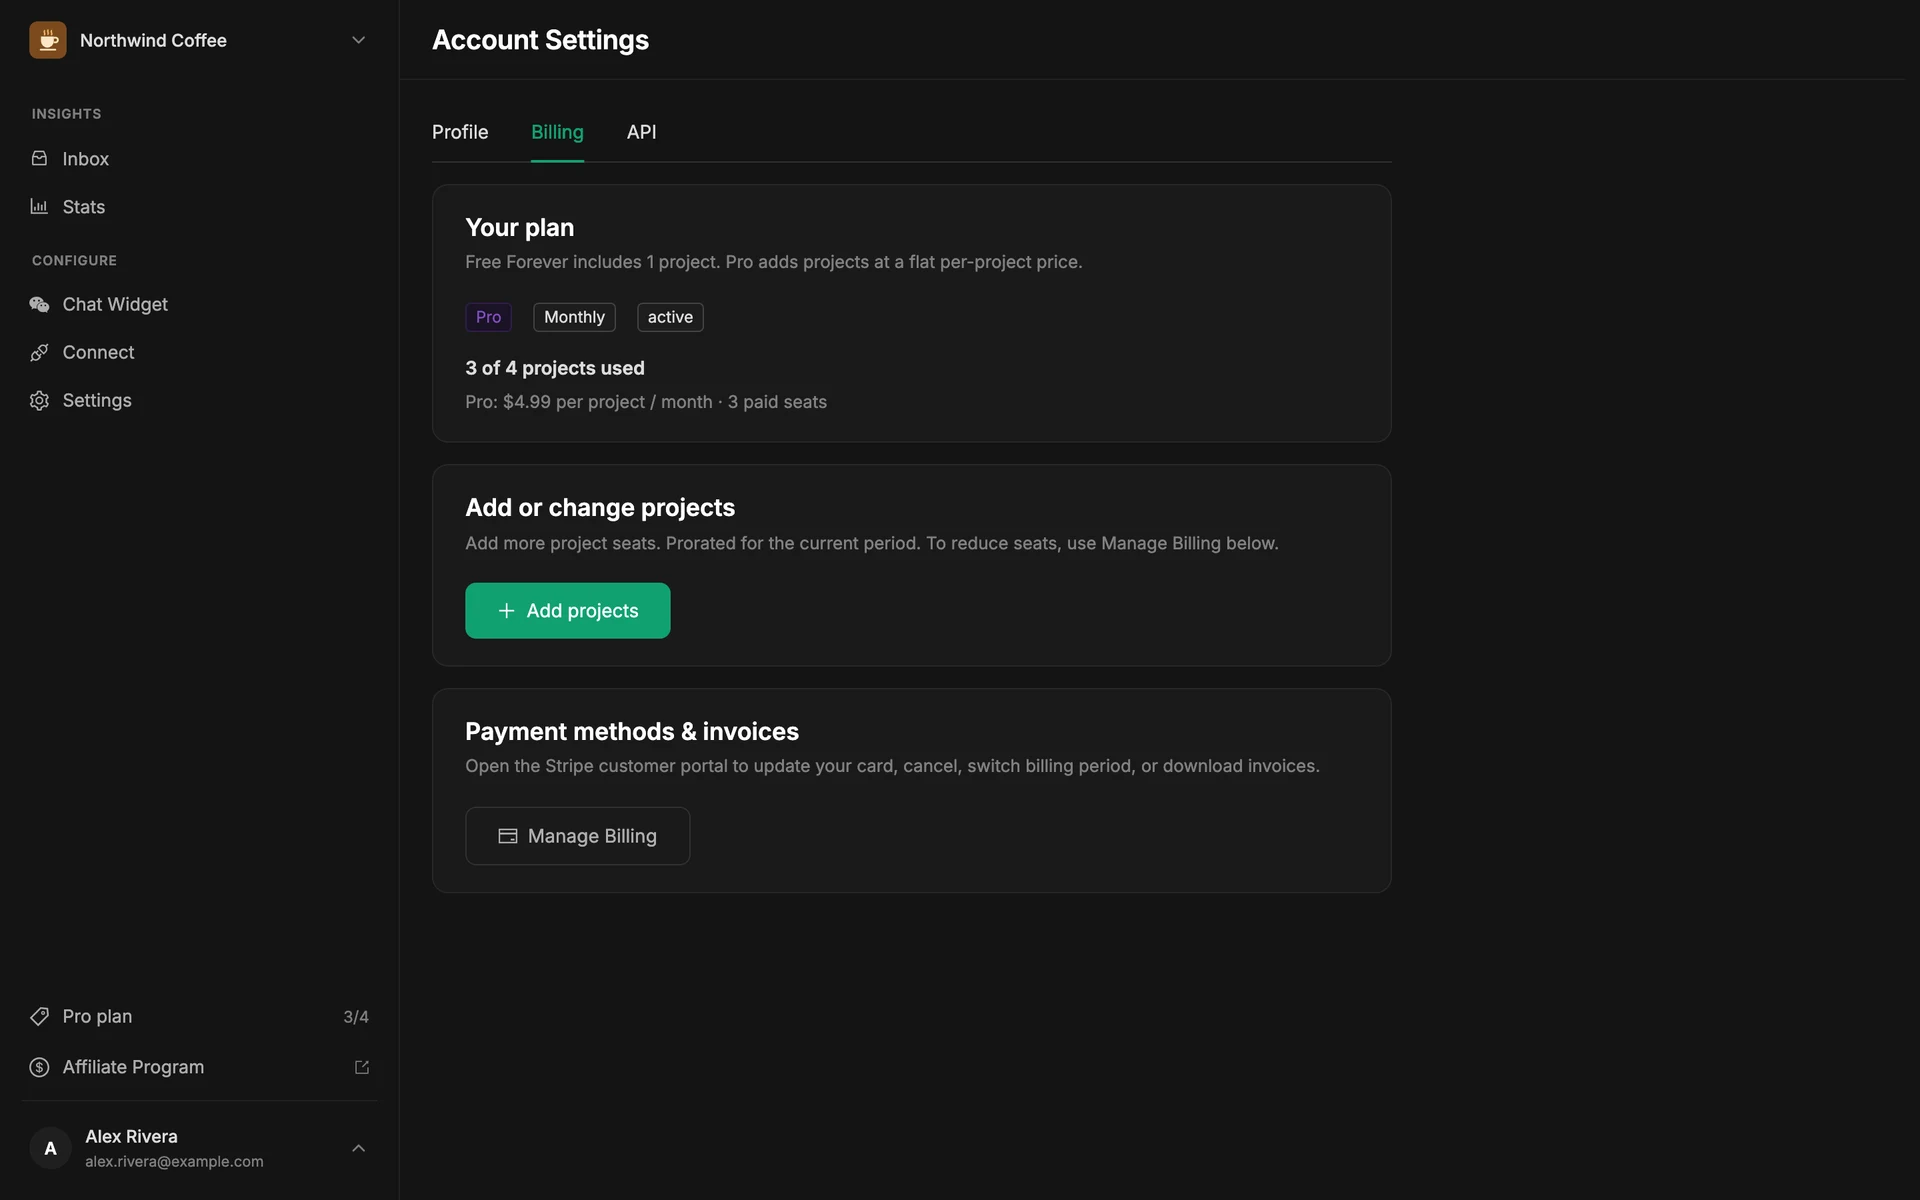
Settings → Billing shows:
- Your plan — Free Forever or Pro, your billing period and subscription status, and how many of your projects are used (for example, 2 of 3 projects used).
- Add or change projects — on the free plan, click Upgrade to Pro, choose Monthly or Annual, and click Pay with Stripe to finish checkout for your first slot. Once you subscribe, the button becomes Add projects: choose how many slots to add (1–20), review the new total and confirm. Added slots are charged right away, prorated for the rest of the current period.
- Payment methods & invoices — once you subscribe, Manage Billing opens the Stripe customer portal, where you update your card, download invoices, switch billing period or cancel.
You can also reach the same upgrade dialog from the project switcher: choosing + Create Project at your limit opens it.
Removing slots. To pay for fewer projects, open Manage Billing (or Need fewer projects? Manage in Stripe → in the add dialog) and lower the quantity in the Stripe portal. If you cancel Pro, when the subscription ends your oldest projects up to the free allowance stay active and the rest are marked inactive.
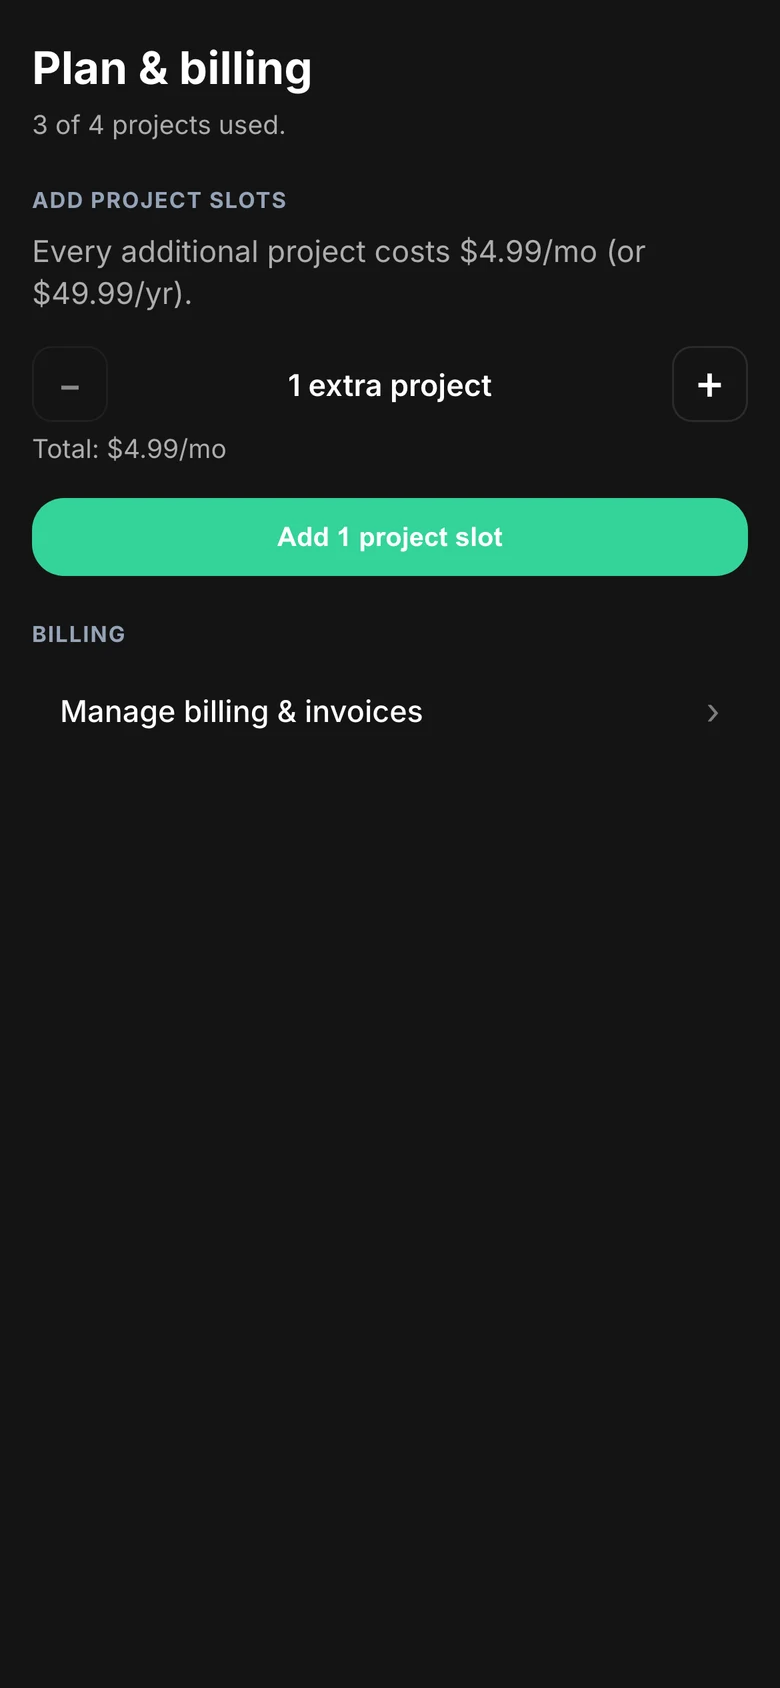
In the Mini App, open Manage → Plan & billing. Pick Monthly or Annual, set the number of extra projects with the stepper, and tap Pay with Stripe — checkout opens in your browser, and your new slots appear when you return. If you already subscribe, the button adds slots directly at your current billing period, and Manage billing & invoices opens the Stripe portal.
API keys#
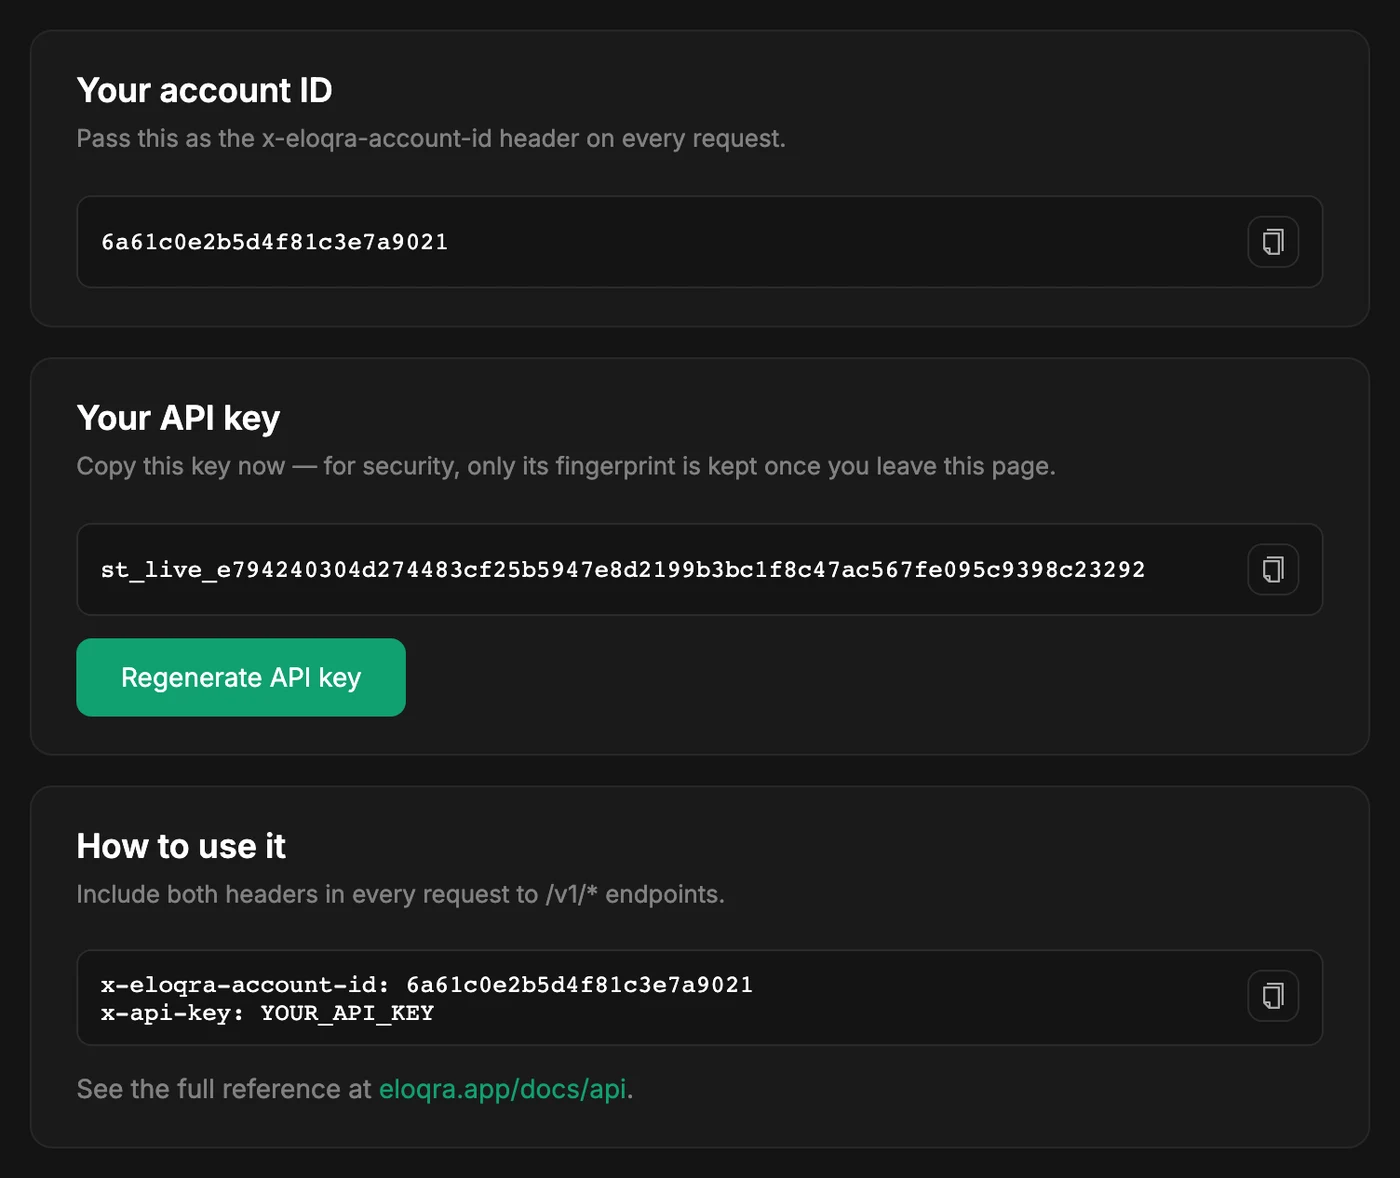
Settings → API gives you what you need to call the Eloqra API:
- Your account ID — send it as the
x-eloqra-account-idheader on every request. - Your API key — click Generate API key to create one, and send it as the
x-api-keyheader. The full key is shown only once: copy it before you leave the page. After that, only its last four characters and its created and last-used dates are shown.
Your account has one API key at a time. Clicking Regenerate API key issues a new key and revokes the old one immediately, with no confirmation step — update anything that uses the old key right away.